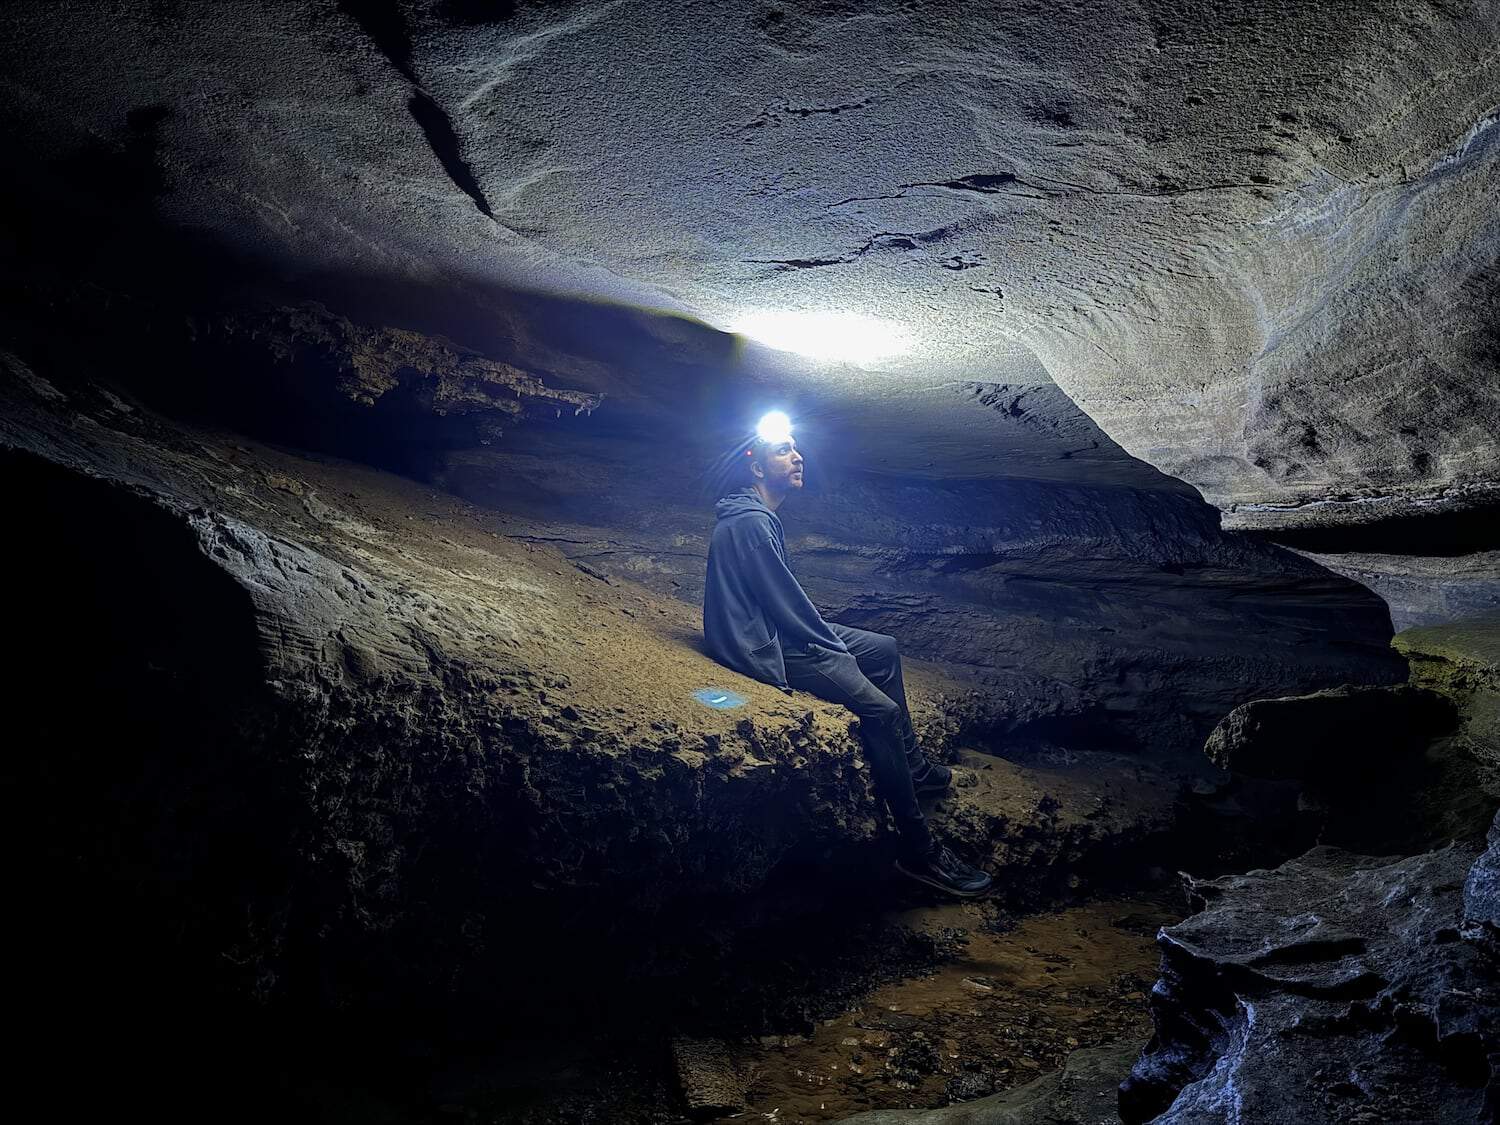
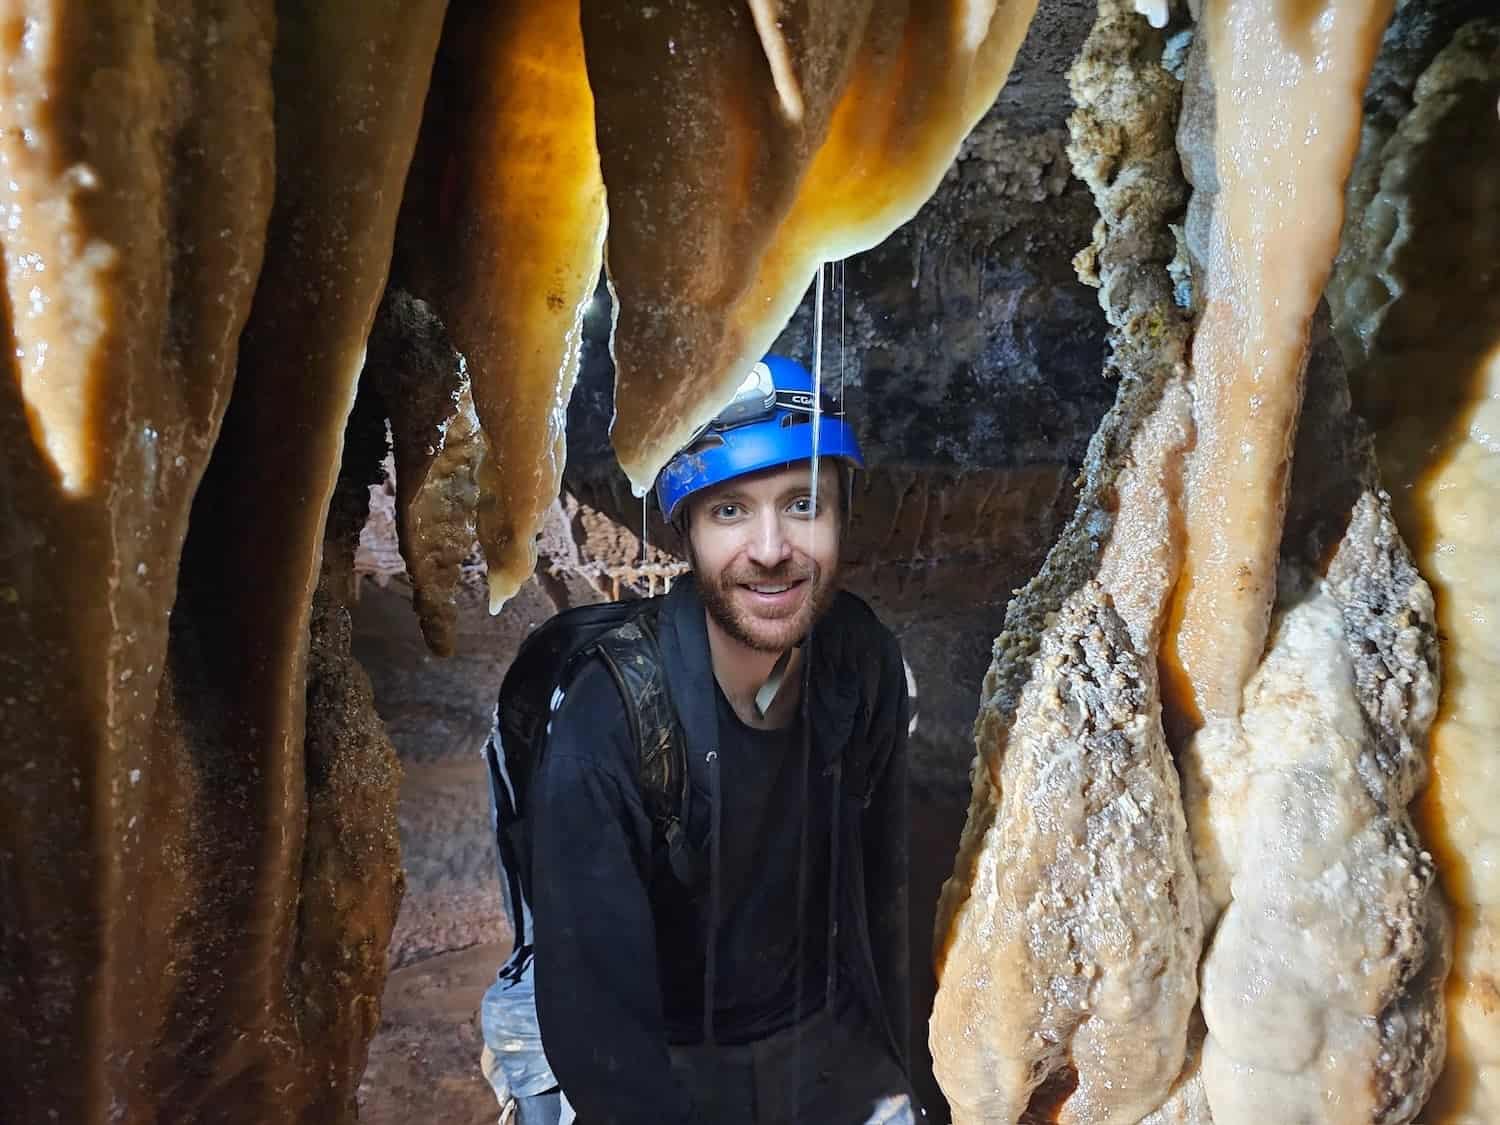
Looking to lead your first cave trip? Great, you’ve landed in the right place.
Leading a cave trip is an incredible opportunity to share the wonders of the underground world with others. However, it comes with significant responsibility. This guide will equip you with everything you need to know to ensure a safe, well-organized, and enjoyable adventure.
Ready to dig into the details (pun intended)?
“With great power comes great responsibility.”
1. Pre-Trip Planning
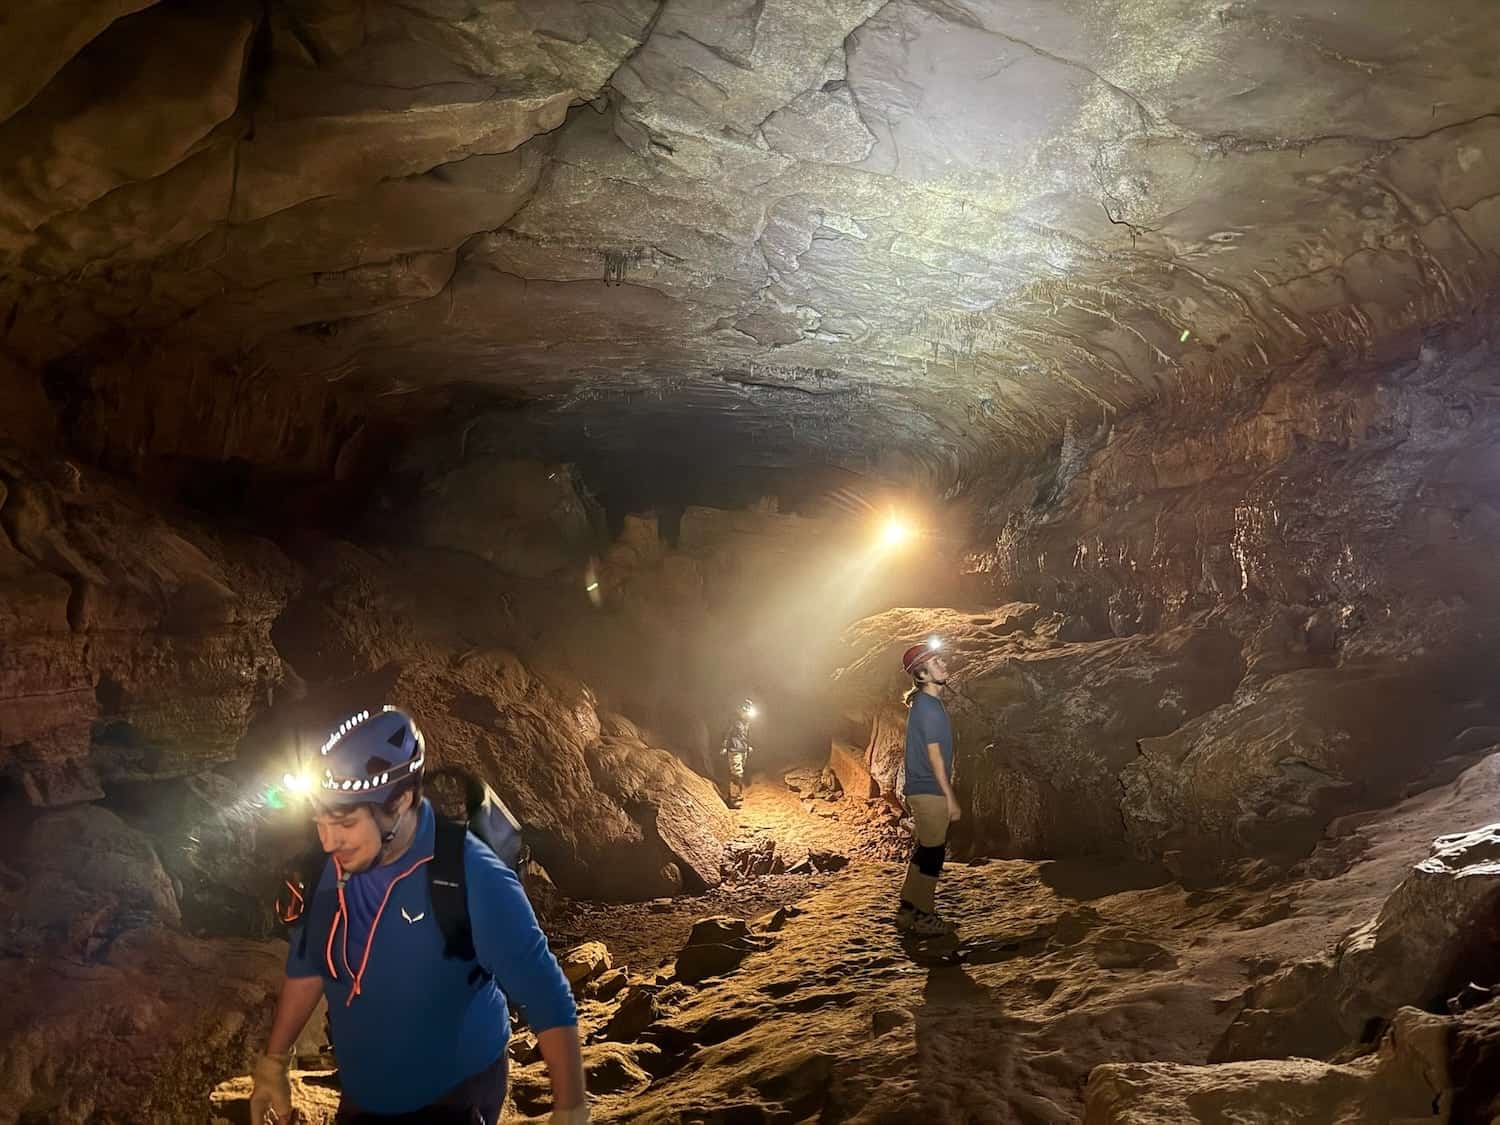
Proper planning is the backbone of a successful trip. Here’s how to prepare:
Ask Trip Leaders For Advice
- Express Your Interest With Other Trip Leaders: Start by connecting with experienced trip leaders in your grotto. They can offer valuable insights, share lessons learned from their experiences, and provide recommendations for handling potential challenges.
- Ask About The Cave You Want To Visit: Ask other trip leaders about specific caves you’re planning to visit. Experienced leaders may know the intricacies of the caves, including potential hazards, access requirements, and optimal routes.
- Seek Advice: Don’t be afraid to seek advice on gear, safety techniques, or group management strategies. Each trip leader brings their own unique perspective that can help you refine your skills.
- Join Your Grotto’s Facebook Group: Have questions and don’t know where to start? Ask questions in your Grotto’s Facebook group.
Choose an Appropriate Cave & Research It
When planning your first cave trip, choose a cave that aligns with your skill level and experience to ensure you can lead effectively and confidently.
- Not Sure Which Cave To Choose? Seek advice from experienced trip leaders. They might know the perfect cave for your first trip.
- Beginner-Friendly Caves: Opt for a cave with straightforward navigation, relatively low physical demands, and minimal technical challenges.
- Understand The Cave’s Complexity: Research the cave’s length, difficulty, layout, features, and potential hazards, such as tight squeezes, water features, or unstable areas. Is it a beginner-friendly cave or one suited to experienced cavers? Is it horizontal or is vertical gear needed? Is there a low oxygen section you should avoid?
- Review Past Trip Reports: Visit your grotto’s website and navigate to the page featuring past trip reports. Reviewing trip reports of the cave you plan to visit can give you valuable insight into the cave and help you understand what to expect. You might discover details you weren’t previously aware of.
- Secure A Cave Map: A cave map is an essential tool for safe and successful exploration. Ask other trip leaders for a map of the cave if you don’t have one already. They may provide detailed information about the cave’s layout, including passageways, chambers, and any notable features or hazards. By using a cave map, you can plan your route, avoid disorientation, and identify safe exits in case of emergencies. Please note that some cave maps aren’t 100% accurate or may only cover a portion of a cave.
- Get Permission / Obtain Permits (if required): Most caves have restricted access or require permits to protect the environment. There are also caves that don’t allow any access or are closed for part of the year to protect bat species. Get permission from the landowner or know the permit requirements. If you’re unsure what is needed, ask other trip leaders. They may be able to get permission for you.
Prepare an Itinerary
- Plan Your Trip Out: Dtermine the trip’s timeline, including expected start, exploration, and exit times. Note down the cool features of the cave. This information will be useful for your trip description, enticing others to join your trip.
2. Prepare For Your Trip
Understand The Cave Environment
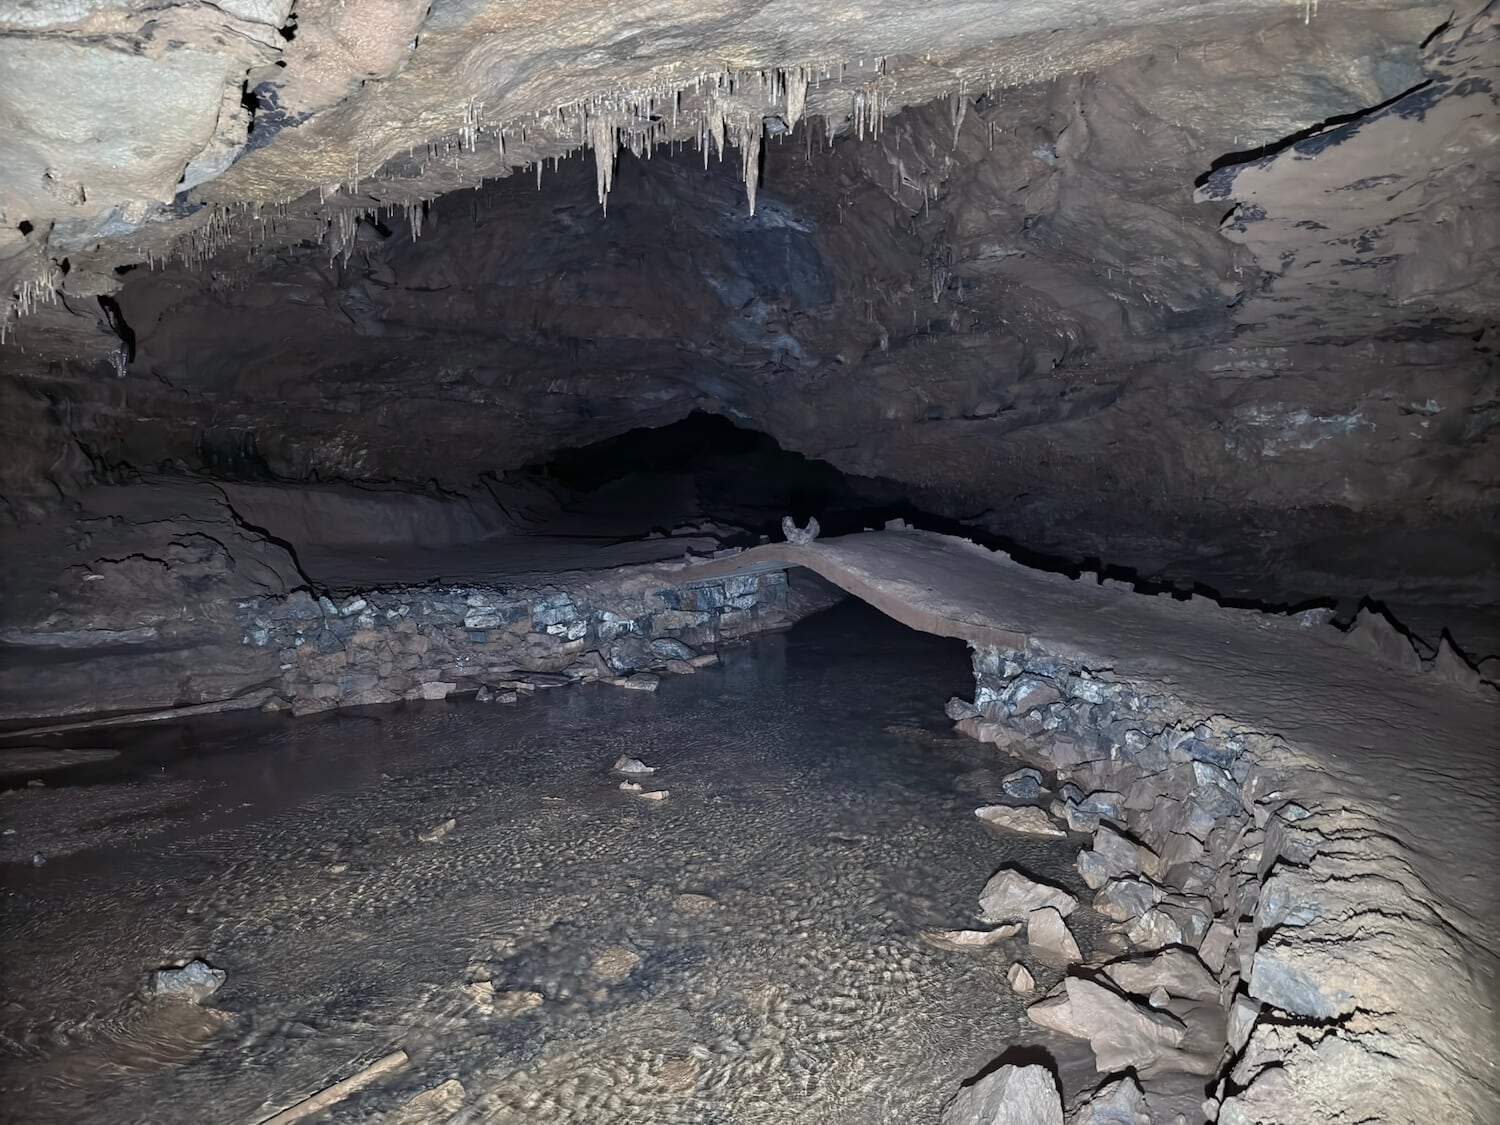
Caves are fragile ecosystems full of unique geological formations and wildlife. Understand the environment so you and your group members know what to expect, enjoy, and watch out for.
I mean, who wouldn’t want to be known as the “stalactite and stalagmite expert” in their friend group?
Have You Been To The Cave Already?
You should know what to expect if you’ve already been to the cave. It’s okay if you haven’t already been to the cave though. You can scout out the cave before your trip. If you don’t plan on visiting the cave beforehand, do your research to know what to expect.
Tip: I highly recommend setting your first trip to a cave you have explored! That being said, my first trip as a trip leader was to a cave I hadn’t visited and everything went smoothly, but I did plenty of research ahead of time.
Understand Safety Protocols and Navigation
Safety is a top priority for any trip leader. You must be ready for the unexpected. Here’s how you can be prepared:
- Know Your Gear: Know what gear you’ll need before entering the cave.
- First Aid: I highly recommend bringing a first aid kit. Don’t assume others will bring one. Having a first aid kit could be the difference between someone enjoying a trip or needing a rescue. Knowing how to treat minor injuries like cuts, scrapes, and bruises is helpful knowledge.
- Have A Callout: If you’re leading a trip, other people are depending on you. It is essential that you have a callout. A callout person is someone who knows where you are going and when you plan to be back. This person will call 911 if you don’t contact them by a time you specify. This is vital for cave rescues. If you need a callout, ask other trip leaders if they’ll be your callout.
- Extra Supplies: Bring extra food, water, etc, to account for unforeseen delays. Always have spare lighting and batteries.
- Emergencies: Know the fastest exit route back to the surface in case of an emergency. If an emergency occurs, stay calm to avoid panicking the group. If possible, help an injured individual exit the cave. If a rescure is needed, leave someone with the injured person while a minimum two others calmly exit the cave to call 911 and request a rescue team. This is why you want a minimum of 5 people in your group. Two people can stay with someone injured while two others exit the cave and request help.
Tip: Not sure what to tell your callout person? Click here to view my Callout Form. Feel free to copy my form and adjust it to your needs. I plan to eventually set up an online form you can fill out to have all the necessary information sent to your callout. This is a work in progress for the time being.
3. Set Up Your Trip On The Grotto Website
Ready to schedule your trip? Post your trip on the Grotto website. Any grotto member can post a trip. Here are some tips to create a trip report that gets people excited and signing up for your trip:
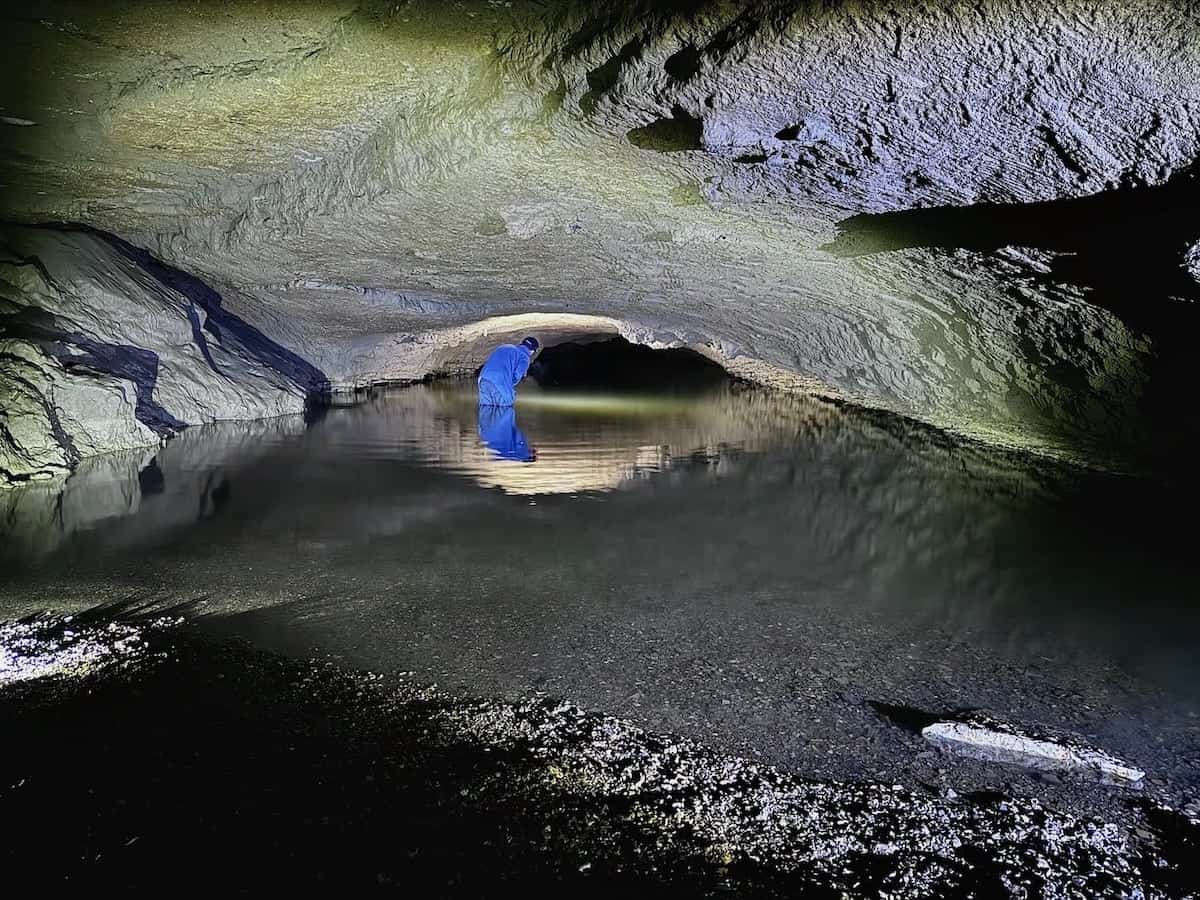
- Be Detailed: Are there cool formations? Will you get wet? How deep could the water be? How cold is the water? Will you need a wetsuit? Will there be a lot of crawling? Will you be underground for 1 hour or 6 hours? Do participants need upper body strength to climb ropes without footing knots in them? Is the cave horizontal or vertical? Is there a long hike to the cave? Do you plan on getting food afterwards? What city is the cave in? People want to know these kinds of details to determine if your trip is the right fit for them. The more educated your group, the more likely you are to have a successful trip.
- Share Gear Requirements: Know what gear is required and what gear is optional. Maybe elbow pads are helpful, but not needed. Maybe a blacklight could be used to see crystals in a different light. If your group knows what to bring, they can pack efficiently and maximize their enjoyment.
- Explain Why The Trip Will Be Fun: I’ve seen many trip descriptions that are just a paragraph of text with minimal details. Then, I go to the cave, and it’s way more entertaining than the trip description made it seem. Tell others about the cool formations and features of the cave to entice them to join your trip.
- Explain Any Difficulties/Dangers: Some people hate heights, can’t fit through tight passageways, or easily get cold in water. Know what dangers you’ll encounter ahead of time and explain them in your trip description!
- Permits: If permits are required, share these details in your description so participants know when and how to get a permit.
- Group Size: I suggest keeping the group size small for your first trip to prevent getting overwhelmed. Many people like to start off with a group size of 5-6 people. This makes it easier to ensure safety and communication. If you’re comfortable with large groups, then that is okay, too. My first trip had 7 people.
- Include Location Details: Make sure your group knows exactly where and when to meet you. In most cases, your group should meet up somewhere that isn’t the cave location, such as a Walmart or Dollar General parking lot. Then, you reduce cars and ride share so there’s enough room to park at the cave. If possible, avoid sharing the actual cave location in your description to protect the cave location. Specifying the city and/or county of the cave is recommended so participants can determine if they want to drive there. Just because a cave is close to you doesn’t mean it is for others.
Tip: Share any and all potential hazards/requirements to ensure only qualified individuals join your trip!
- I’ve encountered trips advertised as beginner-friendly, only for a participant to discover inside the cave that they must crawl through a narrow passageway that they are too frightened to attempt.
- I’ve been on trips that involved a lot of crawling, but the trip description didn’t make that clear, leading to people being unprepared and exhausted by the end of the trip.
- I’ve seen people who couldn’t fit through the tight entrance of a cave and had to end their trip early before even making it into the cave.
- I’ve ended up a building or two away from a meetup location because the meetup location wasn’t concise enough.
Even if you think something is minor, it’s best to share it in your trip description so others can determine for themselves if they are comfortable with the hazards. Just because you are used to something doesn’t mean others are. This knowledge can prevent the problematic scenarios above.
4. The Days Leading Up To Your Trip
Pack the Essentials
Make a checklist of the gear everyone will need. Don’t forget your gear and double check everything the day before your trip. A typical list includes:
- Helmet with a mounted headlamp
- Extra batteries for all your lights!
- Sturdy boots with good grip
- Comfortable, moisture-wicking clothing
- Gloves
- Knee pads
- Elbow pads
- A map of the cave
- First aid kit
- Food/snacks and water
- Ropes and harnesses for vertical caves (if applicable)
- A bag for trash to ensure you pack out what you bring in
Tip: Many trip leaders like to bring extra gear, such as batteries, in case someone in their group needs it. This isn’t required, but it’s a nice touch. To learn more about cave gear, view my guide on caving gear recommendations: Essential Cave Gear to Buy (and Tips for Scoring Discounts)
Send an Email To The Group
In the days before your trip, send an email or text message to the group. You can do this directly from your trip page on the Grotto’s website. You can send your group a cave map, remind them about the trip and meetup location/time, ensure they know what to bring, update them on any changes to your itinerary, etc.
Tip: This is an effective way to prompt people to inform you if they’re unable to make the trip, especially since some may forget to notify you of their change in plans. Then, you can allow someone else to take their place.
Understand The Cave Map / Itinerary
Re-familiarize yourself with the cave’s map shortly before your trip. Memorize your itinerary and route. Having this information memorized can create a smoother trip experience. You can bring copies of the cave map to hand out to your group or send them a digital copy. Sending the map to your group before trip day can come in handy if there’s no cell reception at your meetup location.
5. Before You Enter The Cave: Understand Your Group
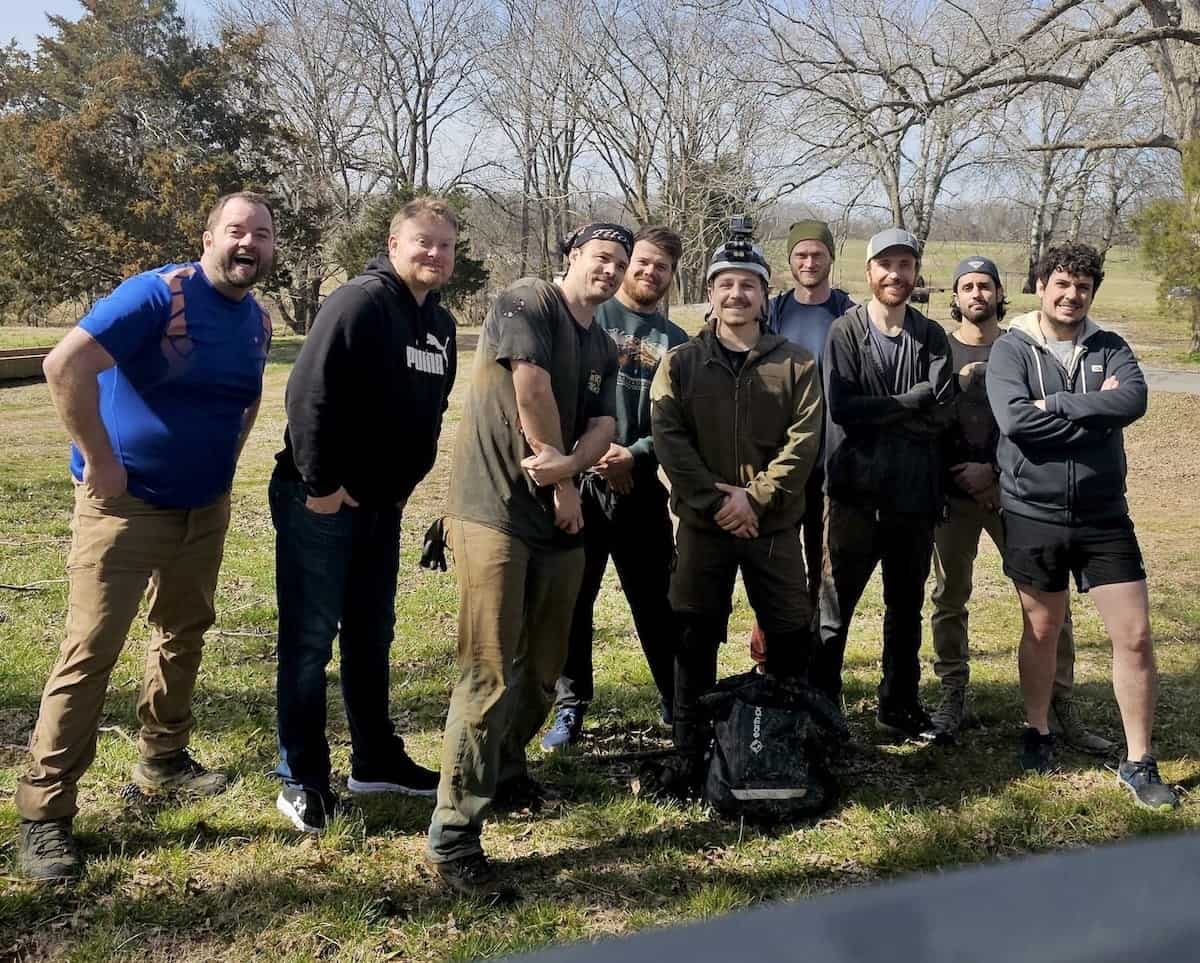
Caving is a team activity. A strong leader ensures the group stays connected and safe. Tell your group what to expect and offer a chance for them to ask questions just before entering the cave.
- Pre-Trip Briefing: Always conduct a “pre-trip briefing” with your group to explain expectations, safety rules, and the itinerary. If you have new cavers in your group, allow them to introduce themselves so the group can get to know each other.
- Share Knowledge: Talk about the cave’s history, geology, or biology to engage the group.
- Health Concerns: If someone says they have asthma or claustrophobia, keep this in mind as it may affect their ability to cave.
- Check For Newbies: Find out if participants have caving experience or any physical limitations. During your trip, educate new cavers on cave safety, preservation, and conservation. The more comfortable they feel, the more likely they are to enjoy your trip and want to continue caving.
Tip: I like to let new cavers know the following basics:
- Ask Away: If you have a question, don’t hesitate to let others know. There’s no such thing as a dumb question.
- Safety: I like to explain the three points and five points of contact safety suggestions.
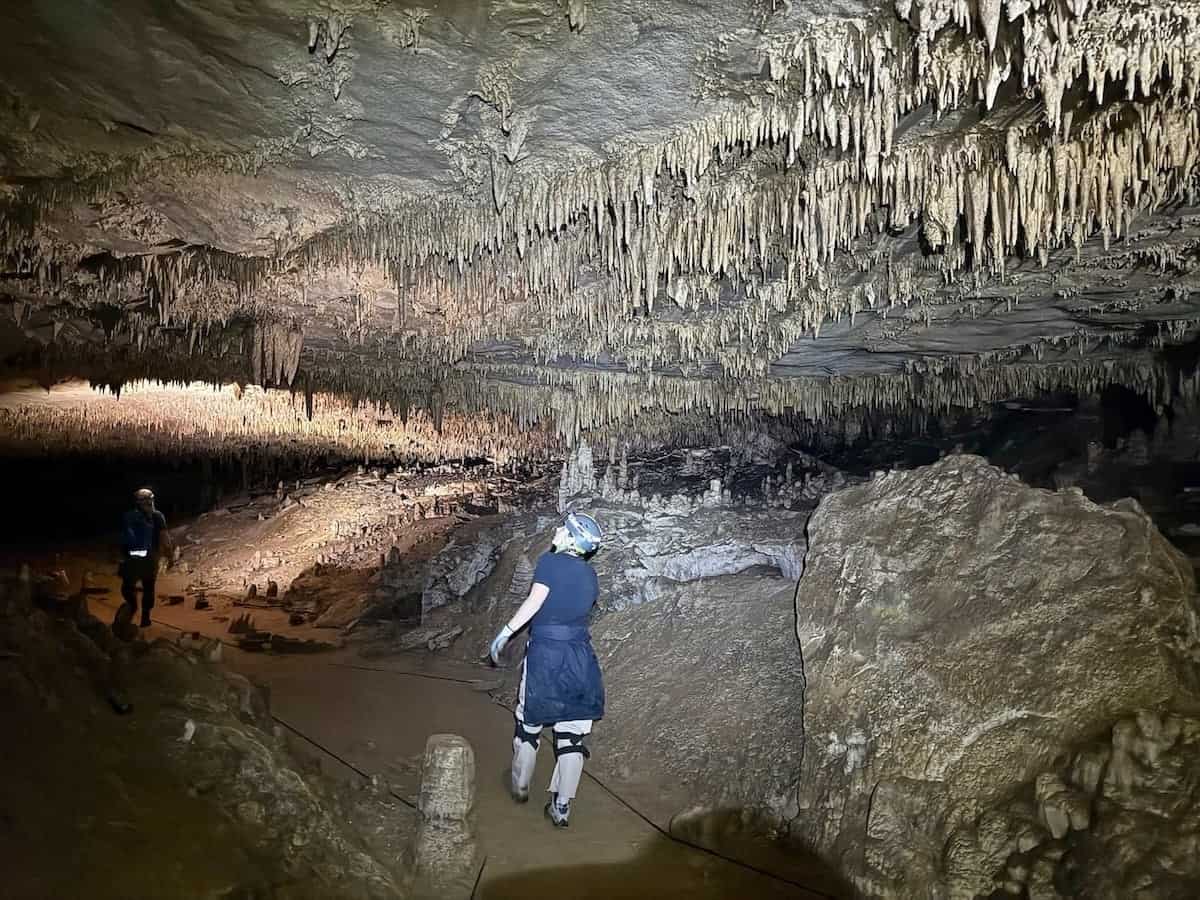
- Don’t Touch: Formations look cool, but don’t touch them as the oil on your hands can deteriorate them. Some formations are millions of years old. Ruining these formations can ruin cave experiences for countless generations or cause closures.
- Leave No Trace: It’s okay to eat/drink in a cave, but be mindful and follow a leave no trace policy.
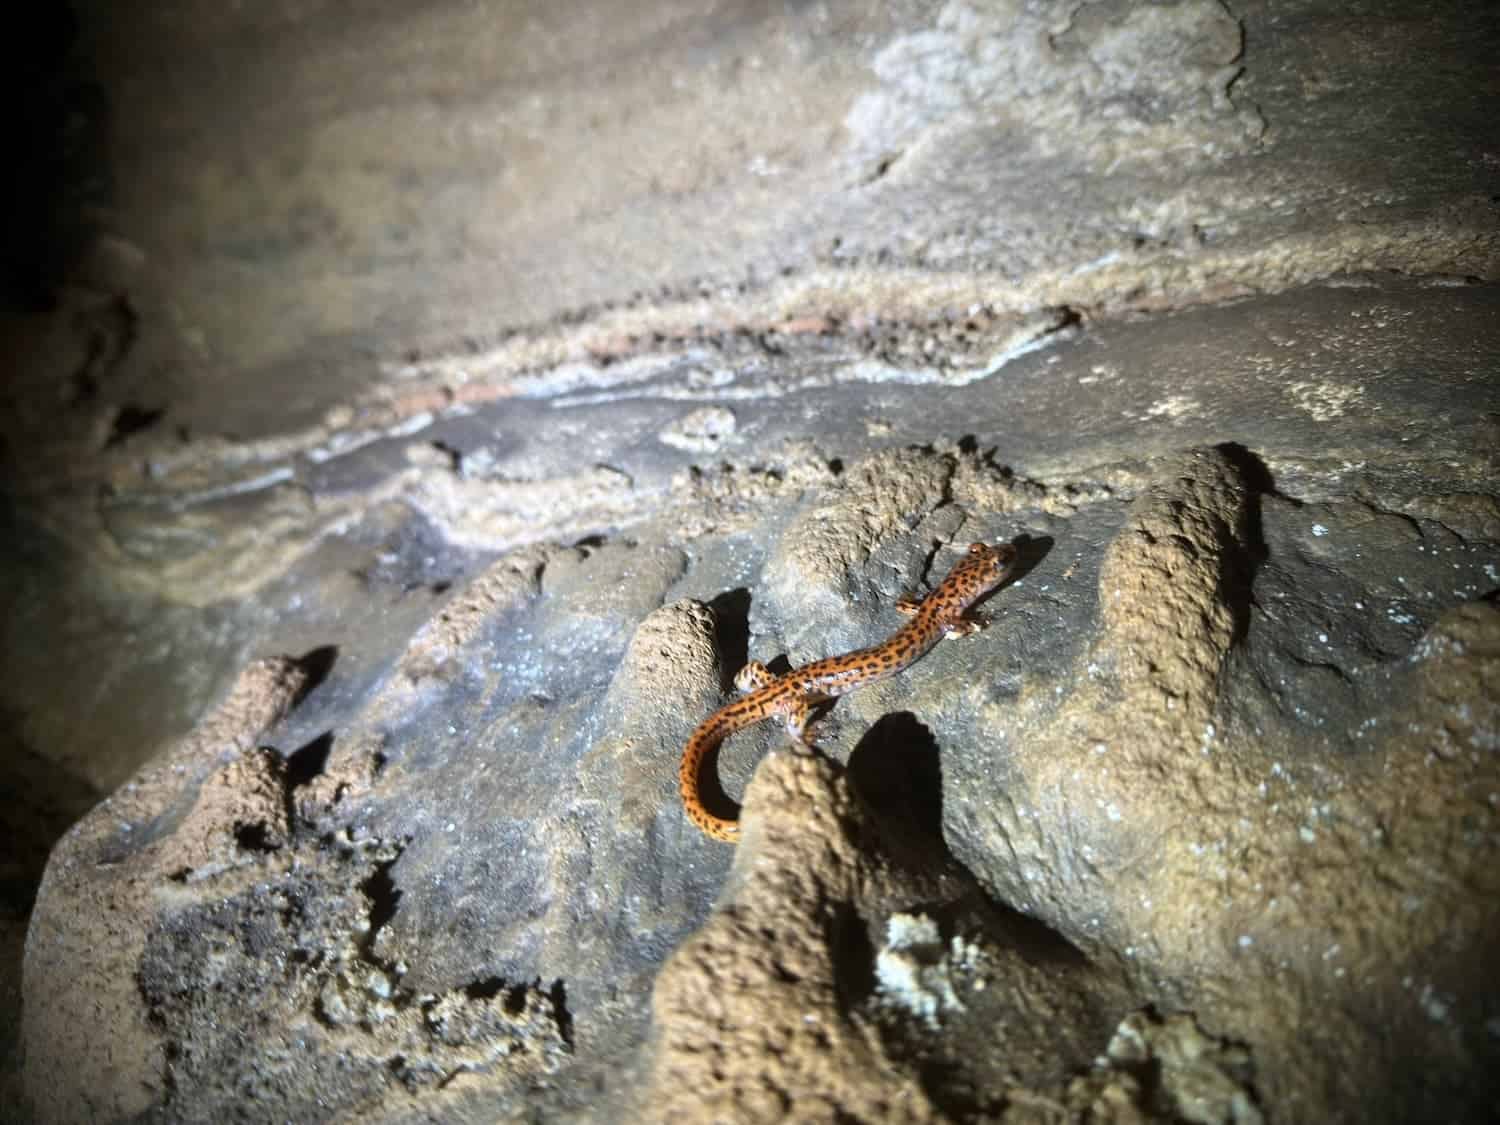
- Watch Out: Be cautious of low-hanging rocks and formations to avoid bumping your head. Watch out for any critters that may call the cave home.
- Take Your Time: There’s no rush. We’re all here to enjoy ourselves.
- Have fun!
Establish Roles
If you have a large group attending your trip, it might be beneficial to split into smaller teams for a more engaging and enjoyable experience. If this is what you want to do, that’s absolutely fine. Ask if anyone would like to volunteer as an additional trip leader, then provide them with all the necessary information and a clear route to follow. This ensures everyone stays organized while maximizing the fun for all! Here are some tips if you want to assign multiple trip leaders:
- Alternative Routes: For smaller caves, different groups can take different routes, reducing the likelihood of congestion. You can highlight paths on the cave map in different colors for each group so they know the route to take.
- Questions? Before entering the cave, ask your trip leaders if they have any questions or concerns.
- Establish Trip Leaders Early: Establish additional trip leaders beforehand so they have time to prepare to be a trip leader. Assign participants to each leader ahead of time so all they need to do is gather their group.
- Have A Plan: Make sure you have a plan in case one of the other trip leaders doesn’t show up.
- Be Aware: Make sure other trip leaders understand they should always know where their group members are. If someone needs to leave a cave, the group should find another group in the cave, leave their members with the other group, and then the trip leader can take someone out of the cave before returning to the cave.
- Wait: Make sure extra trip leaders stay at the cave location and wait to talk to you in person after their trip. Additional leaders should confirm with you in person that their entire group is accounted for. This allows you to confirm a correct head count after a trip.
6. What To Do While In The Cave
Your role as a trip leader isn’t only about safety. It’s also about enhancing the experience for everyone involved. Here’s how to help your group enjoy your trip:
- Encourage Teamwork: Build camaraderie by celebrating accomplishments, such as successfully navigating tricky areas.
- Be Supportive: Ensure everyone’s enjoyment by staying positive and providing encouragement, especially if someone feels nervous or overwhelmed. Is someone freaking out? Ask your group to walk away to another nearby area to avoid overwhelming someone further while you calm them down.
- Manage The Pace: Set a pace that accommodates the slowest person in the group.
- Watch The Newbies: If you have a large group, consider placing new cavers in the middle of the group with an experienced caver behind them. This allows new cavers to watch how the cavers ahead maneuver the environment while an experienced caver behind them can give them tips/advice and ensure they stick with the group.
- Mark Your Route: If needed, you can mark your route subtly without damaging the environment. You can track your route with flagging tape, reflectors, or glow sticks. Don’t forget to remove your trackers on the way out! This is helpful in complex areas that are difficult to navigate.
- Maintain Communication: Use clear, simple phrases to issue instructions.
- Stay Together: Don’t let the group split up unless additional trip leaders are established and know what to do.
- Watch For Hazards: Watch out for loose rocks, unstable surfaces, dips/holes in streams, etc. Make sure your group is aware of these hazards as they approach them.
- Stay Flexible: Listen to your group’s concerns and adapt as needed. If conditions worsen or someone needs extra support, adjust your plan. Lead with confidence yet humility.
- Monitor For Emergencies: Monitor for signs of hypothermia (especially in wet caves) or exhaustion. If someone needs a rest, stop until they are ready to move again.
- Take Breaks: Take regular breaks to hydrate and assess everyone’s condition. I’ve noticed that many people like to fly through caves and get super tired halfway through a trip. Set an easy pace to keep your group engaged and prevent injuries.
- Conduct Head Counts: Conduct a head count before entering the cave, occasionally throughout the cave trip, and upon exiting the cave to ensure no one gets left behind. I encourage performing one every time you pass a major obstacle.
- Take Photos/Videos: Take some photos so the grotto can see what the trip was like in your trip report.
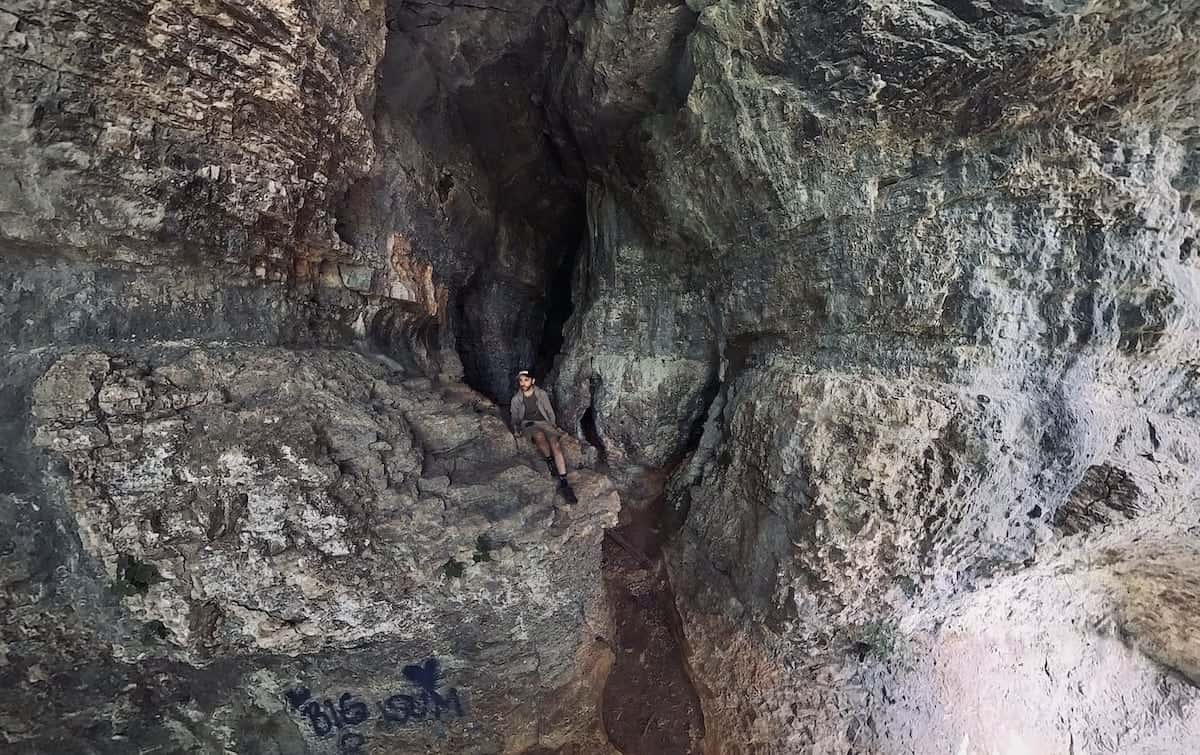
7. What To Do Upon Exiting A Cave
- Conduct A Head Count: Don’t forget to conduct a head count upon exiting the cave!
- Share Experiences: Ask your group what they thought of the trip. They may enlighten you on ways to make future trips more enjoyable for everyone.
- Be The Last To Leave: Make sure everyone successfully leaves the premises.
- After Party: Caving is bound to work up an appetite. Consider ending your adventure with a visit to a local restaurant, where you can enjoy a delicious meal and reflect on the highlights of your journey. This should always be optional.

8. Post Caving
Make It Easy For Your Group To Share Photos
After a trip, many leaders share a link to a Google Photos folder, allowing everyone to upload their photos in one convenient place. While Google Photos is a popular choice among cavers, you can use any platform you prefer.
This approach makes it simple for participants to share and access the photos and videos they took of one another, creating a collaborative collection of memories. These shared visuals also serve as a fantastic addition to trip reports.
Post A Trip Report
In the days following your trip, go back to the Grotto website, find your trip, and post a trip report. Explain what the trip was like, share funny stories that occurred, and include photos from the trip. It’s okay to be as detailed as you want in your trip report.
Your report allows other cavers to know what they missed and may help other trip leaders plan trips to the same cave. Your story and photos could even end up in the Speleonews Newsletter!
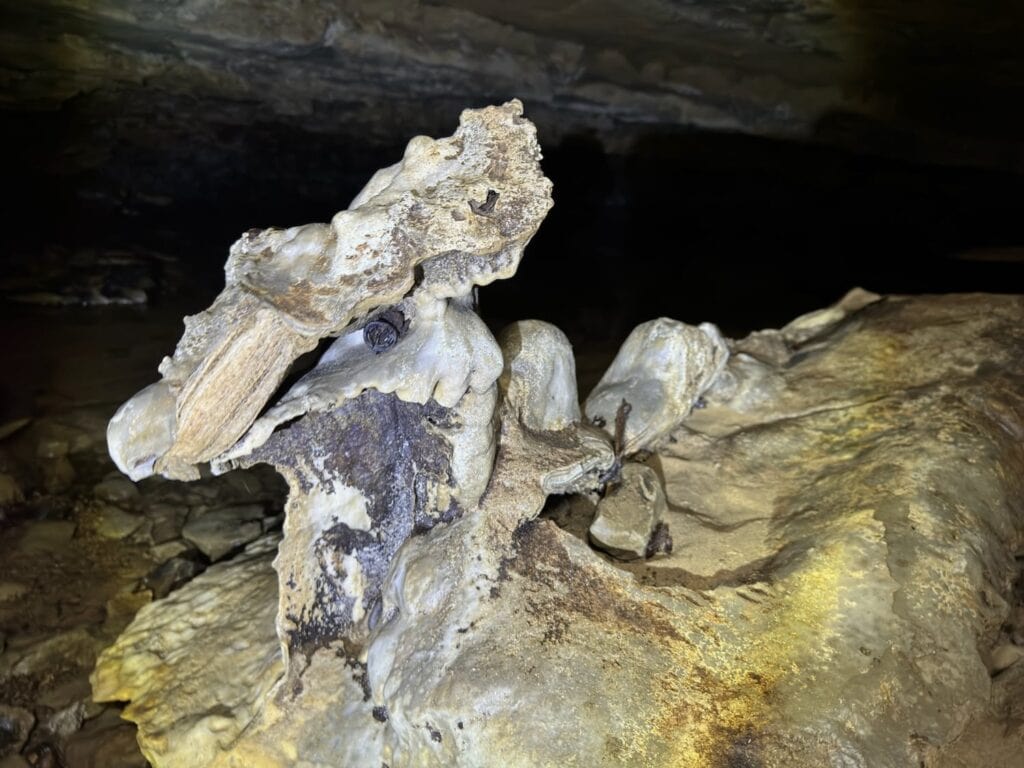
It’s Time To Lead A Trip!
Becoming a trip leader stalag-might take some time and effort, but it’s easy enough.
By blending careful preparation, safety awareness, and a commitment to fostering group enjoyment, you can become the kind of trip leader that cavers trust and admire. Plus, leading trips can be your ticket to exploring more caves—just don’t forget to bring snacks, or you might find yourself in a “rocky” situation.
Have fun and happy caving! I hope to see you down below soon!
